C64 OS USER'S GUIDE
Chapter 2: Installation
VICE Configuration on TheC64 with IDE64
This subsection of Chapter 2: Installation, discusses the set up and configuration of the VICE emulator built into TheC64 (mini or Maxi) for use with C64 OS. Understanding how to use TheC64 with C64 OS and configuring VICE for using the IDE64 has the following steps:
- About TheC64 mini and Maxi
- TheC64 and VICE
- Carousel vs Classic Mode
- Controlling TheC64 with a Keyboard
- Configuring IDE64
- Hardware TheC64 has and has not
Important resource links required for TheC64 configuration are found at the end of this page. You should fetch these resource files ahead of time and have them ready to go before proceeding with this tutorial.
About TheC64 mini and Maxi
TheC64 is a product created by Retro Games Ltd.1 The mini version does not have a functional keyboard, but you can connect a USB keyboard to one of its USB ports. The full-sized version is unofficially referred to as the Maxi, to distinguish it from its diminutive sibling. The Maxi has a full-sized and fully functional keyboard.
Neither of these two computers come equiped with original ports. There is no expansion port, which means they cannot be used with an original RAM expansion unit (REU) nor with an IDE64 cartridge or a RAMLink. They also do not have IEC serial ports, and therefore you cannot connect a traditional storage device, such as a Commodore floppy disk drive or CMD FD-2000. It also means you cannot connect a mass storage storage device, such as a CMD HD or SD2IEC.
It would seem at first glance that this Commodore 64 reproduction is unsuitable for running C64 OS. However, it contains many hidden features that can be enabled with relative ease if you know how. This section of the User's Guide is here to instruct you on how to configure TheC64 for use with C64 OS, and what options can be enabled, as well as what features are not available.
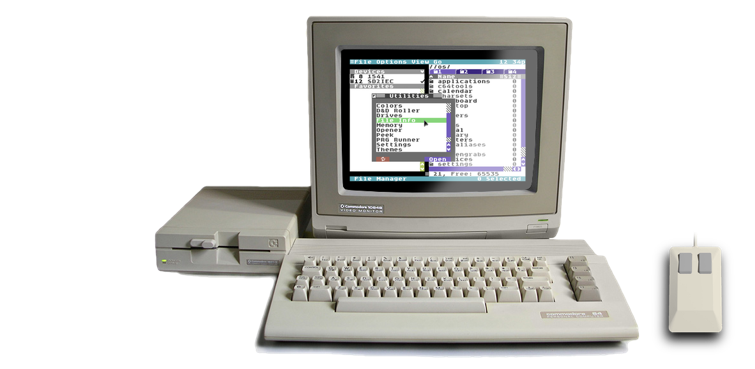
TheC64 mini - profile
TheC64 and VICE
TheC64 runs a version of VICE, the Versatile Commodore Emulator. VICE is a mature emulator with support for lots of Commodore hardware, including RAM expansion unit (REU), 1351 mouse, and IDE64 cartridge.
TheC64 does not directly expose the VICE configuration settings, however its User Manual, Chapter 8: Loading Other Programs, discusses a number of advanced options for enabling VICE features.
Additional software can be loaded by TheC64 by putting it on a USB storage device and plugging that storage device into one of TheC64's USB ports. Disk images (such as D64, D71, D81) and cartridge images (CRT) can be selected and attached to virtual disk drives or the virtual C64 expansion port. Different kinds of C64 programs require different VICE configurations. The basic configuration options can be specified as a series of letter and number codes that are part of the filename of the disk image or cartridge image attached.
Carousel vs Classic Mode
In additon to running VICE, TheC64 provides a custom menu screen. There are two main operating modes, Carousel and Classic. You can run C64 OS from either of them, but the menus appear slightly differently in the two modes.
The carousel can be considered the beginner mode. It boots to a screen that shows a carousel of game box covers that you can scroll through horizontally, in alphabetical order, in a long loop. As you scroll through the games it shows a screenshot and gives some information about that game and from there you can launch it.
In the carousel mode there is also a set of options along the bottom, one for settings which looks like a wrench, and one for media access which looks like a USB thumb drive.
Carousel mode menu system
In classic mode you are presented with the standard Commodore 64 BASIC V2 and READY prompt. When you activate the menu system, a set of main menu options appears along the bottom, for saving snapshots, accessing USB media, and changing settings.
From settings, you can choose which of these two modes TheC64 should boot up into. From either mode you can temporarily switch to the other mode without changing the mode it boots up to. Or you can change the boot mode so it always starts up in one or the other. If your intention is to use TheC64 primarily as a regular Commodore 64 and with C64 OS, it makes sense to make classic mode the boot up default, but this is not strictly necessary.
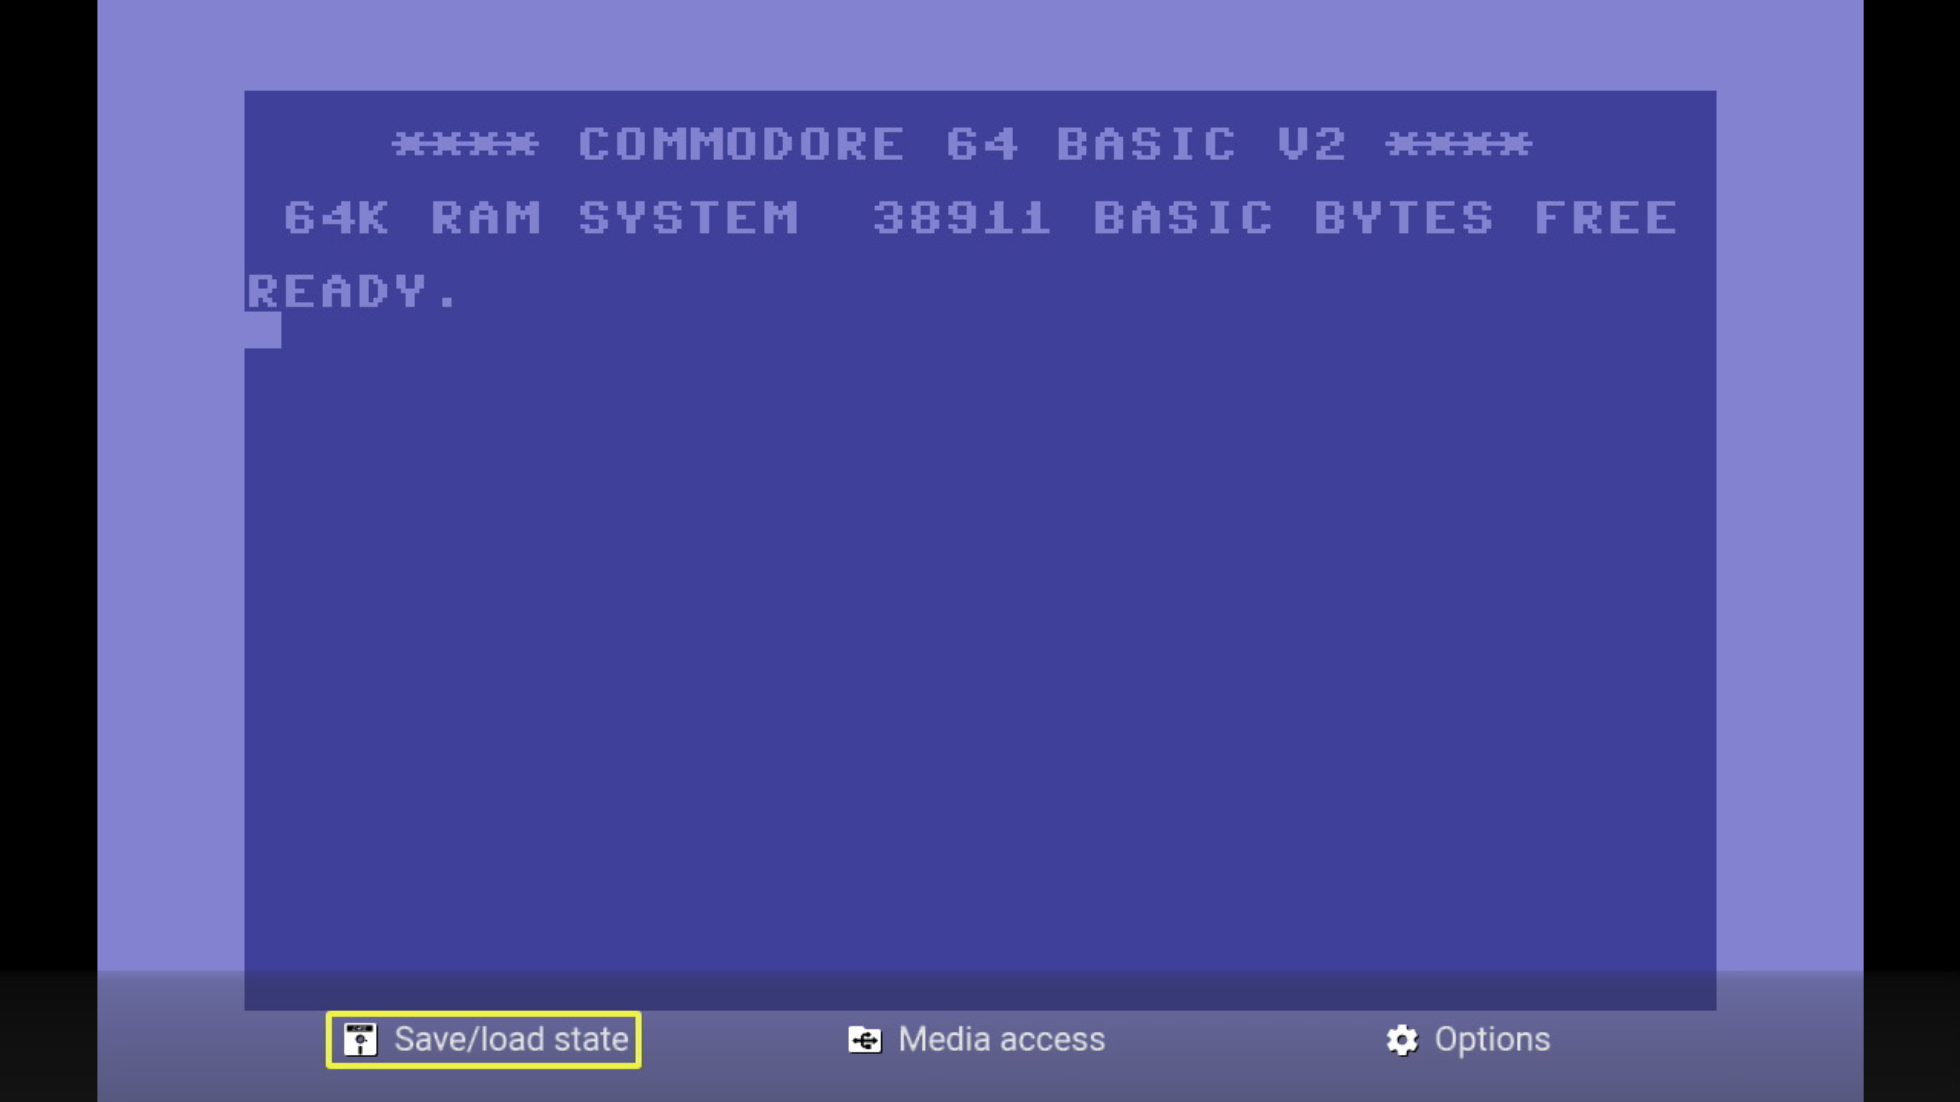
Classic mode menu system
Controlling TheC64 with a Keyboard
In order to use C64 OS, you require a keyboard. On TheC64 mini you can connect a USB-based keyboard to one of the USB ports, and on the Maxi you can use the built-in keyboard.
To access the built-in menu system, on TheC64 mini press F12, on TheC64 Maxi quickly press and release the power button. You can access the menu system by holding LEFT-SHIFT and tapping the back arrow key (top left of keyboard on TheC64 Maxi) or the tilde key on a USB keyboard. However, in testing this, sometimes the LEFT-SHIFT key will get stuck down, not physically but in VICE's model of the keyboard. If this happens it will have strange effects. Double-tapping the left shift key while in the C64 mode (i.e., not in the menu system) is usually enough to get it to unlock. However, to avoid this problem, using one of the other methods of entering the menu system may be preferable.
In the menu system the letters U/H/J/K can be used as inverted-T cursor keys. L or RETURN can be used as Right-FIRE, and SPACE can be used as Left-FIRE. The letters A, B, and C can be used to trigger the A, B and C button functions on the joystick. When already in the menu system the M key can be used to trigger the menu button's function.
The A, B, C and Menu buttons are displayed in the menu system as a series of small red circles, with one of them filled in, beside an icon to indicate its function. For example, the following is displayed at the bottom of the menu screen while in the "Media Access" section.

Media Access menu buttons
The filled red dots correspond with the buttons on the joystick. The left-most dot is to go up a directory, press A to trigger this. The second red dot to the left is for the rocket ship, this launches the selected file, such as mounting a disk or cartridge image, press B to trigger this.
The red dot second from the right is a disk turbo option. Press C to toggle this option on and off. For use with IDE64 it is best to disable this. The right-most red dot is to go back one screen in the menu system, press M to tigger this.
Configuring IDE64
Conceptual Overview
The IDEDOS for IDE64 is available as a .CRT image specifically for VICE. This cartridge image can be stored on an external USB storage device, and with a few keyboard sequences it can be attached.
In addition to the IDEDOS .CRT image, IDE64 also needs a hard disk image. A pre-constructed IDE64 disk image is included on the C64 OS System Card (64MB or larger.) The problem to be overcome is making the IDEDOS cartridge image able to find the location where the IDE64 disk image is stored.
By default it searches for the image, with the name "ide.cfa", in the root directory of the file system. The root directory, however, is part of the device's internal storage and it is of limited capacity. A simple script has been developed by C64 OS user and developer, Andrew Gillham (@gillham on X,) which creates a symlink from TheC64's root directory to the file on the USB storage device, and that script is executed by a very minor hack; a custom firmware trick that was developed for the X-Windows Mod.2
TheC64 is designed to look for firmware update files that have a version number greater than the current firmware version, and allows you to select and apply this update. A fake firmware update file was created that does not actually update the firmware or change it any way, its only job is to run a script. And it is the script that creates the symlink. This only has to be done once. The necessary files (3 of them) are provided in the Important Resources section below.
Create Symlink on TheC64
Download the following two files:
Put them in the root directory of a USB thumb drive that you intend to use as the external storage device for TheC64.
With the keyboard, enter the menu system. From Classic Mode, choose "Options," then "Device settings," then finally "System information." From Carousel Mode, choose "Options" (which looks like a wrench,) then choose "System information."
The version 9_9_9 update option should be available. Apply this update. The firmware of TheC64 will not be updated. The symlink for IDE64's disk image will be created and after approximately 3 seconds TheC64 will reboot automatically.
The symlink is now created. You only need to do this once. However, after updating to a new firmware, this process may need to be repeated once to recreate the symlink.
Booting C64 OS on TheC64
Download the following file:
Put it in the root directory of the USB thumb drive that you intend to use as the external storage device for TheC64.
Find the IDE64 pre-constructed disk image, with C64 OS already installed, on the C64 OS System Card (64MB or larger) in the /vice support/ directory. Copy it to the USB thumb drive in the root directory alongside the IDEDOS .CRT file. Rename the disk image on the USB thumb drive to "ide.cfa".
Alternatively, you may create your own IDE64 disk image following the instructions in Advanced VICE Configuration for IDE64. Then put that disk image on the thumb drive in the root directory and name it "ide.cfa".
From the menu system choose the media access option. This looks like a USB thumb drive from the carousel mode's home screen.
Media access shows the file system on the USB thumb drive, but it only shows files with extensions that it can use. It will find .D64, .D71 and .D81 files, which you can attach to a virtual Commodore Floppy Drive on device 8. It will also show .CRT image files. The special VICE configuration codes are hidden from the filename in the menu access screen, this is normal. Menu access, therefore, will not show you the 9_9_9 .BIN file or the start.sh file. You may leave these on the thumb drive without any downside, but once the symlink is created they are no longer required and can be removed if you prefer.
Select the IDEDOS .CRT file, press C to toggle the disk speed load option, this should be disabled. When disabled it has a red X through the icon. Press B, for the rocket icon, to launch the IDEDOS cartridge image.
You are taken to the READY prompt with the IDEDOS start up screen. Hold CONTROL and press the D key to cycle through the storage devices available to TheC64. You may see 8 if you have a disk image mounted, and 12 for the IDE64. With 12 selected, you can type "dir" and press RETURN to list a directory. This should show an installation of C64 OS.
Load and run C64 OS as you normally would. It will take you through the standard first run set up tool. You can proceed like normal in the instructions for Installation on IDE64 starting at the point where you boot up.
Hardware TheC64 has and has not
The codes on the IDEDOS cartridge image filename configure VICE with a variety of options.
The codes on the filename are: ADTNJ2P1RM According to the User Manual, these codes have the following meaning:
| Code | Meaning |
|---|---|
| AD | Enables "Accurate Disk" mode |
| TN | Enables C64 in NTSC mode * |
| J2 | Configures Port #2 for Primary Joystick |
| P1 | Configures Port #1 for 1351 Mouse |
| RM | Enables an REU with the maximum of 16MB |
In summary, TheC64 can access two virtual storage devices at the same time: The IDE64 on device 12, as well as a 1541, 1571 or 1581 on device 8. It can be configured for NTSC or PAL mode; C64 OS is compatible with both modes. A USB gamepad or joystick (including the original) is configured as though plugged into controller port 2, this is the typical port for one-player games. A 1351 mouse is configured for port 1, this is the ideal controller port for a mouse in C64 OS. And a 16MB REU is enabled and available for C64 OS to use.
When configuring C64 OS with its Configure Tool, be sure to select the input driver for 1351 mouse on Port 1. And enable Fast App Switching with the maximum number of App Switching Banks.
Missing Hardware and Caveats
Mouse
The mouse driver in VICE is for 1351 only. That means that even if you connect a USB mouse with a wheel, and select the MicroMys/mouSTer driver in the Configure Tool, VICE will still not recognize or forward the mouse wheel information to C64 OS.
In tests with wireless mice that are connected via a USB dongle, the mouse movements work but the mouse buttons do not. This seems to be a bug in VICE, or the VICE version or configuration built into TheC64. This may get fixed at some point, but until it does, if your wireless mouse doesn't work, then try using a wired USB mouse instead.
Realtime Clock
TheC64 does not provide a realtime clock option. Therefore, from the C64 OS Configure Tool you should choose the option for none available.
Technically, the IDE64 provides a realtime clock, and the C64 OS RTC driver for storage devices can be used, and it will read the time from the IDE64's registers. Unfortunately, even if you set the date and time of the virtual IDE64, the next time TheC64 attaches the cartridge image, the date and time will be reverted to the default.
Lack of USB Ports
TheC64 mini has only 2 USB ports. To use C64 OS effectively you require a USB storage device, a keyboard and a mouse. On TheC64 mini, the keyboard must be provided via a USB port. There are insuffient ports to plug in all three devices at the same time. A standard USB hub or a tiny USB hub built into a cable, such as the one picture below, is sufficient to overcome this problem.
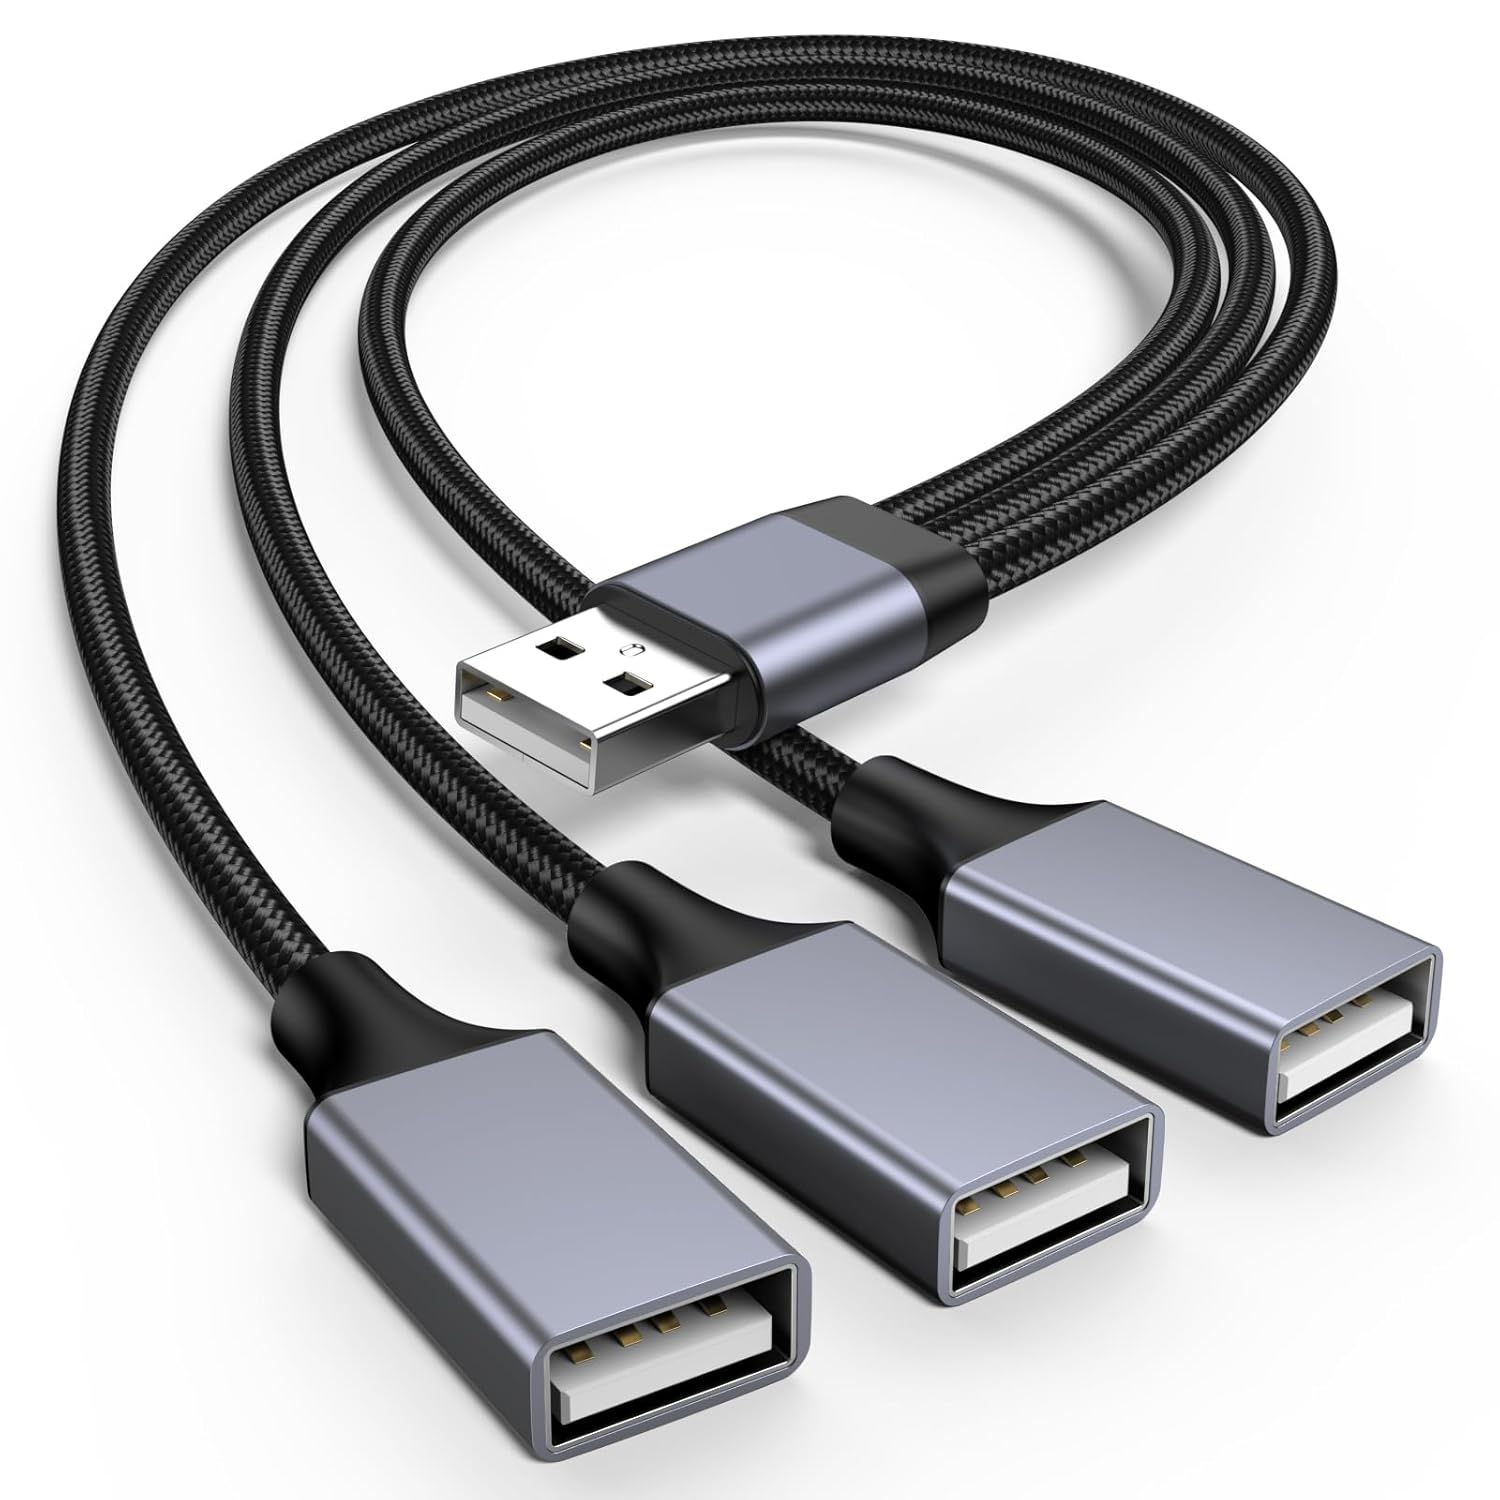
USB hub in a cable
TheC64 Maxi has four ports and it has a built-in keyboard, therefore a USB hub is not necessary.
For the TheC64 mini, a 1-to-3 USB hub is a good choice, as it provides 4 ports in total. Enough for:
- Keyboard
- Mouse
- USB Thumb Drive, and
- Joystick or Gamepad
No Networking Hardware
Lastly, and perhaps most unfortunately, TheC64 does not provide networking hardware. And there is no known way to add networking hardware as an option. This is a shame, as it precludes the ability for C64 OS to get online when running on TheC64.
Video Summary
The following is a video summarizing the steps taken above, and goes into some technical details about how the script creates the symlink. The details in this video are slightly out of date, as this video was created for C64 OS v1.0.
Thanks Andrew Gillham!
Important Resources
The following three files can be put in the root directory of a USB thumb drive you intend to use as an external storage device for TheC64.
This file, theC64-9_9_9.bin, is the fake system update which kicks off the configuration script.
This file, start.sh, is the configuration script which sets up the symlink for the IDE64 disk image.
This file, idedos20190819-c64_ADTNJ2P1RM.crt, is the IDEDOS cartridge image for use in VICE, with the appropriate filename codes to configure VICE's settings.
In addition to the above files, you will need an IDE64 disk image. A pre-build IDE64 disk image, with C64 OS installed, can be found on the C64 OS System Card (64MB or larger.) Copy the .hdd disk image file to the root of the USB storage device alongside the above files, but rename it to "ide.cfa".
The following link is a download of the full User Manual for TheC64 (and TheVIC20) in PDF. This edition was released in 2021 and is valid for firmware up to version 1.6.1. Following is a link to the page where you can find the most recent firmware releases.
Visit c64os.com/c64os/media to find some free TheC64/IDE64 mini cheat sheets as a PDF file that can be printed double-sided to perforated business card paper. These mini cheat sheets give you a summary of the most important keys and commands for using TheC64 and IDE64 together.

mini cheat sheets for TheC64/IDE64
Next Chapter: Configuration and Settings
- OpCoders Inc. has no affiliation with Retro Games Ltd. But if you want to support them you can see all of their products here. [↩]
- The X-Windows modification is a much more advanced process that installs a whole X-Windows system on TheC64. Creating the symlink to enable IDE64 is a much simpler process. [↩]
Table of Contents
This document is subject to revision updates.
Last modified: Mar 03, 2026